In the afternoon of Thursday 2th April, the Year 3s were treated to their second engineering session from Luke Bladen and Tom Kelly – engineers at Daresbury Laboratory, who are currently working with Rode Heath to develop a fundamentals engineering programme. To help us with the practical activities, we have invested in a K’nex class set of Simple Machines, which includes gears, pulley and levers: https://www.amazon.co.uk/KNEX-STEM-Simple-Machines-Classroom/dp/B00F6T8NXQ/ref=sr_1_fkmr0_4?ie=UTF8&qid=1487404732&sr=8-4-fkmr0&keywords=k%27nex+simple+machines+glass+set

This session was all about levers and how we can use them to make our lives easier. We learnt that levers are useful, simple machines that are found in many places. The children were able to identify many examples of levers in the Year 3 classroom – hinged doors, crocodile clips, staplers, staple removers and scissors.
Having discovered that their environment was full of levers, the children learned about the 3 points in a lever: effort, load and fulcrum. This was going to be important later on when they built their own levers and had to identify what class they were.
By simply demonstrating how a penny could be used as a lever to open a golden syrup tin, (goodness knows what happened to the all syrup from those empty tins – did they really eat it?), Luke was able to show how by using increasing the length of the levers – from the penny to a small screwdriver, followed by a much longer one – he was able to make it much easier to open the tin.
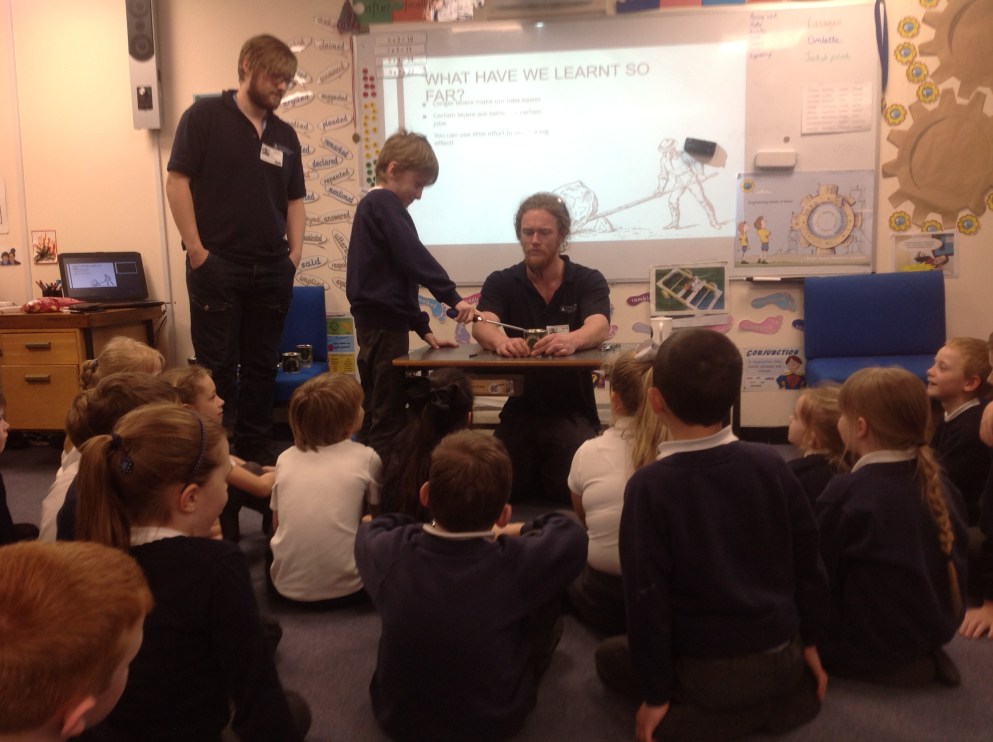
In fact, if he doubled the length of the lever, then this halved the effort required. Already I was thinking about how we could use this is in our maths lessons.
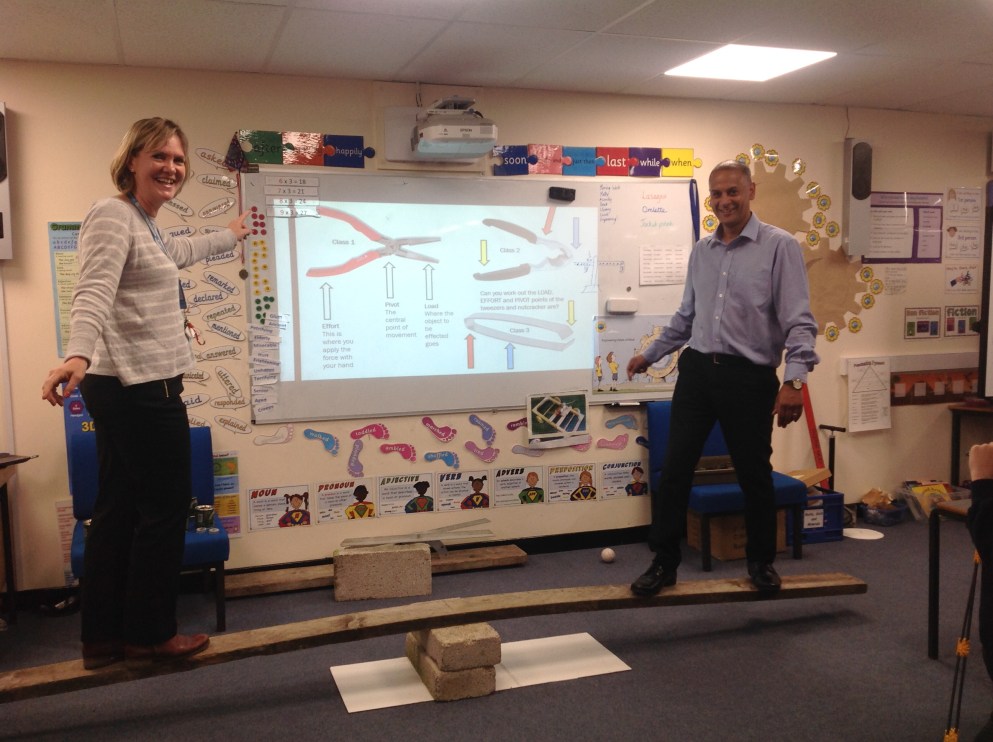
The final piece of information we were given, before the children set about making their own levers with K’nex, was that there are three basic types of lever: class 1, 2 or 3. They all share the same components; the difference is the order in which the fulcrum, load and effort are placed.
As you can see from the slide below, different classes of lever are better for particular jobs.

Examples of 1st Class levers: Seesaw; crowbar; the claw of a claw hammer; oars on a rowboat; scissors (2 connected 1st Class levers).
Examples of 2nd Class levers: Wheelbarrow; Paper cutter (guillotine); Hinged door; Nutcrackers (two 2nd Class levers.)
Examples of 3rd Class levers: Stapler squeezed by hand; hammer driving home a nail; fishing rod; tennis racquet; baseball bat; golf club. Tweezers and ice tongs are examples of two 3rd Class levers working together.
(K’nex have an excellent guide to Levers and Pulleys which comes with their kit of the same name; 78610-TG-Levers-and-Pulleys)
The rest of the session was spent using the class K’nex set to make different classes of lever. As usual with engineering sessions, the children were very engaged and quickly set about producing all manner of ideas. Again, success was achieved by those who sometimes struggle with the more academic subjects. As well as creating their examples, the children were encouraged to think about what class of lever they had made.
Perhaps the highlight of the afternoon was when Mr Randall and I were able to play on the seesaw. It quickly became apparent, that I was at least as heavy, if not heavier, than my colleague!
Next it was the children’s turn. By using the seesaw they could clearly see what happened when you increased the weight on one side – you had to increase the distance from the fulcrum on the other side if you wanted the seesaw to balance. This physical demonstration was so effective, that it made Mr Randall and I think of dusting off our old balance scales from the maths cupboard and bringing them back into use.
The children certainly enjoyed the afternoon and learned a great deal.
We can’t wait for our next session on gears.


